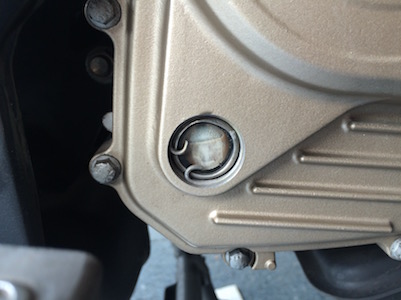
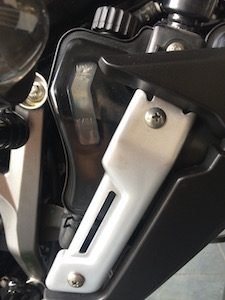
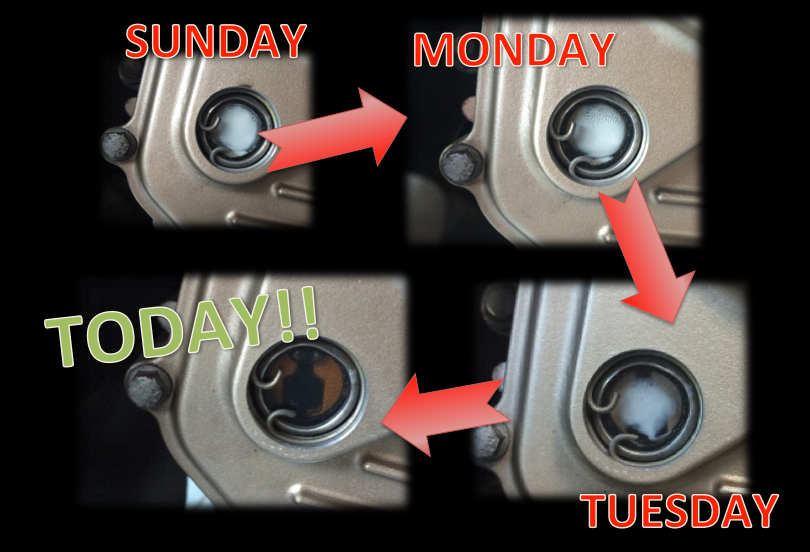
Yes! The oil level inspection window is clearing up! This is after 2 oil changes. Also, I noticed that the inspection window tends to clear up after a ride – when the engine is warmed, but will return to fog up again when cooled down. So what I did was to open up the oil fill knob every time I park my bike after a ride. This lets the engine-warmed steam to evaporate out through the oil fill hole.
Category: Pulsar 200NS
Coolant and Oil Mixing on the 200NS
Weekend Project #3 – Taming the beast’s roar
I cannot speak with authority, but I’ve read that Indian quality has still yet to catch up with their Japanese counterparts. I’m not speaking about reliability here. I’m referring to the finesse of the ride – or what some might refer to as “refinement”.
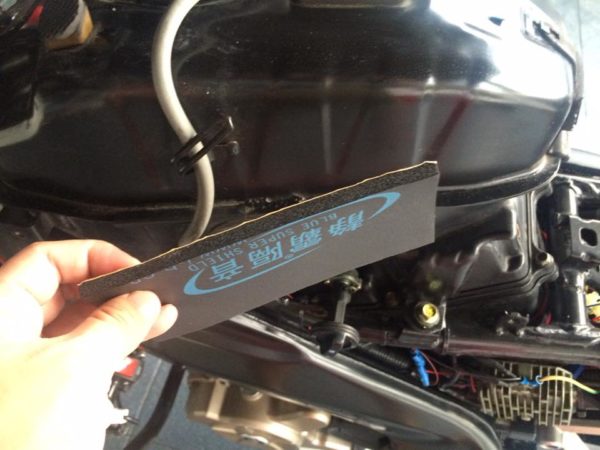
Although the encapsulated 23 and a half horses within the bike has always been eager to be unleashed by the twisting right wrist, the fairings and panels on this half-naked machine similarly always seem ready to protest with a rude roar. I would have preferred a gentle purr and a certain level of class, but really, that’s probably too much to expect from a single-cylinder two-wheeler built for the masses Continue reading “Weekend Project #3 – Taming the beast’s roar”
Weekend Project #2 – Storage space upgrade
I’ve got myself a tank bag. In fact, I made this Amazon purchase before I received my Class 2B license, and definitely before I even considered nor purchased the 200NS. Back then I was salivating between the Yamaha R15, Honda CBR150R and the Pulsar RS200. You see, these were “sports bikes” I was considering then, and I figured a top box storage solution would look hideous on this breed.
And so, my purchased tank bag was in storage for a few months. Of course, we all know by now I got myself a 200NS. How? Why? I’ll save that for another story if enough people are curious. But and until my machine arrived, it was only then that I realised that the Pulsar’s fuel tank cover isn’t metallic at all! It’s made of some fiberglass material. While it’s lighter in weight than steel, it’s definitely non-ferromagnetic. And so the bag’s built in magnets refused to adhere to it. Thankfully, this bag also came with a set of straps and clip-on buckles. But still, I’d love the idea of not having to go through the trouble of looping those straps for a sometimes quick run to purchase some light items. Continue reading “Weekend Project #2 – Storage space upgrade”
Weekend Project #1 – Replacing lime juice with grape juice
As I had purchased my 200NS pre-owned, I really wasn’t sure if the previous owner had ever replaced the coolant. When I adopted the Indian machine, she was over 2 years old. Back then, the odometer reflected approximately 24,000km of adventure. And since Bajaj’s manual calls for a coolant replacement every 30,000km or 2 years – whichever comes first, I figured that there will be a good chance that my mechanical steed is still carrying the same coolant that it was fed from the factory.
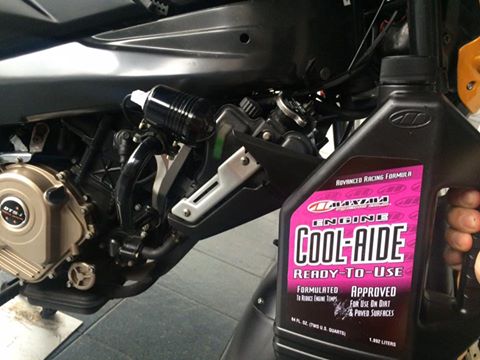
And so I did some research and narrowed my choices to one of these 3 coolants – Evan’s Waterless Coolant, Engine Ice and Maxima’s Cool-Aide. So, the cheapo in me Continue reading “Weekend Project #1 – Replacing lime juice with grape juice”
2nd Singapore-KL Road Trip
It was an unexpected trip. But yes, I’m riding up to KL again. This time, I will stay over for at least a night. Since my last trip up was just a week ago, I’ve learnt much about my faithful machine, and a few things I wanted to try.
First, I’ve got myself some extra luggage space. Soft bag panniers! They mounted on easily and offered some much needed additional space on the storage-deprived bike. Unlike larger bikes or scooters, the 200NS comes quite literally with no storage space on it’s own. I’ve considered the hard-shelled side boxes, but being a new rider, I’d prefer the side-protruding storage spaces do not poke out any further than the width of my handlebars. This gives newbies like me Continue reading “2nd Singapore-KL Road Trip”
10 Things I learnt about my Pulsar 200NS from the Singapore-KL-Singapore trip
SG-KL-SG. Yes. It was a touch-and-go trip. I had some business to settle there and therefore the last minute trip. Left SG around 13:30 yesterday afternoon, and reached back SG around 01:30 in the night. Total distance – 760km. Couple of things I learnt about my 200NS from this trip:
1) The 48L Shad topcase was just barely enough to hold my stuff. I need to rethink about storage solutions if I were to make a similar trip again. Yes, it did hold my hand carry luggage (was initially planning to stay over for a night), rain coat, bike cover and some other small stuff. But I had to force the lid to close. Not good. Almost couldn’t squeeze in my bottle of chain lube – speaking of which…
2) I need a smaller can of Continue reading “10 Things I learnt about my Pulsar 200NS from the Singapore-KL-Singapore trip”
High Temp Paint on Exhaust
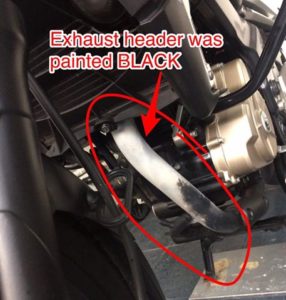
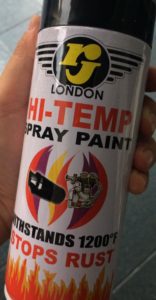
For those who are thinking of painting your exhaust with high temp paint, you might want to NOT consider this…. Bought a cheap can of high temp paint. Looked good for awhile, then started turning WHITE??!?
Maybe because this was rated 1200F. I think Rustoleum has one that’s rated 2000F. Might try that sometime.
Was wondering how Rustoleum’s VHT paint on the exhaust will work out?
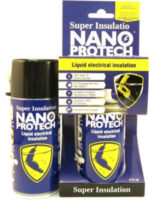
NanoProtech Super Insulation?
NanoProtech super insulation?? Bought this insulation spray today for my hazard light and fog light switches amongst other projects. Supposedly, it will seal the electrical / electronic components against moisture damage. Not sure if it works as advertised or how long it can last. But the video seem very impressive, and the bottle says it should last for AT LEAST one year. So maybe have to respray every year to re-treat.
Tried spraying on the electrical switches. Liquid is slightly yellow and doesn’t stain at all. Sprays on like WD-40 and wiped off excess. Hopefully it’ll keep my cheap switches from wet weather damage! Continue reading “NanoProtech Super Insulation?”
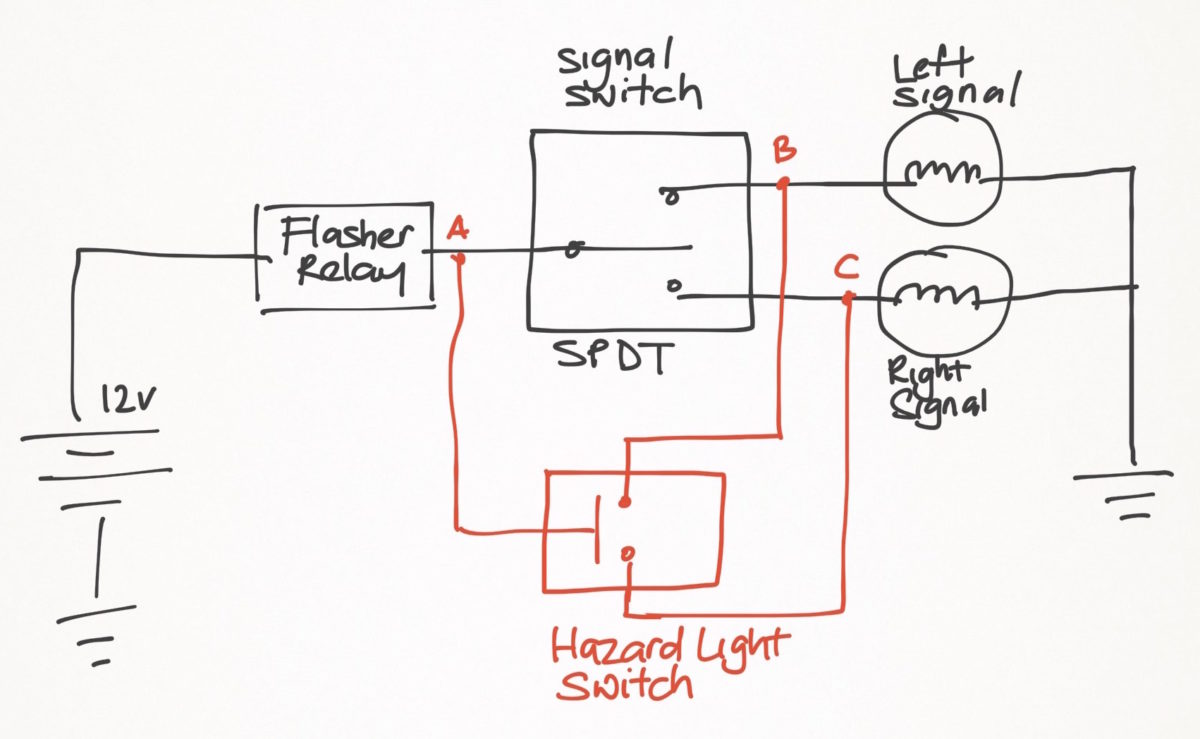
Weekend 200NS hazard light project
Had some time today and so I decided to go for the hazard light switch mod. Found a nice place on the left mirror stem to mount the switch. Wiring was pretty straightforward.
Opened up the head unit by removing 4 large bolts on the side of the head unit – 2 on the left and 2 on the right.
Then locate the signal lights connectors – the grey and green 2-pin connectors (see pictures). All you need to do it to tap any 2 of the switch wires into the GREEN and GREY wires. Note – Do NOT tap into the black/yellow wire – that’s GROUND and you’ll end up with a short circuit. Continue reading “Weekend 200NS hazard light project”