Pulsar 200NS Engine Oil Anomaly

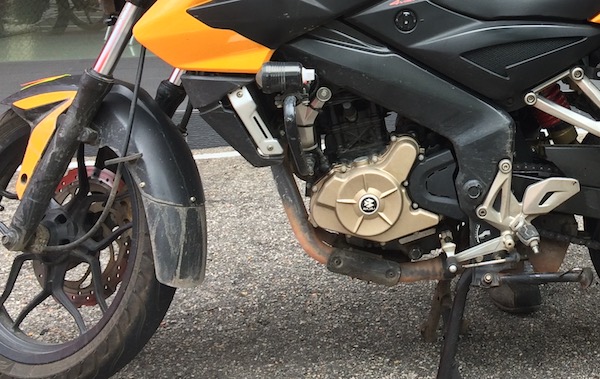
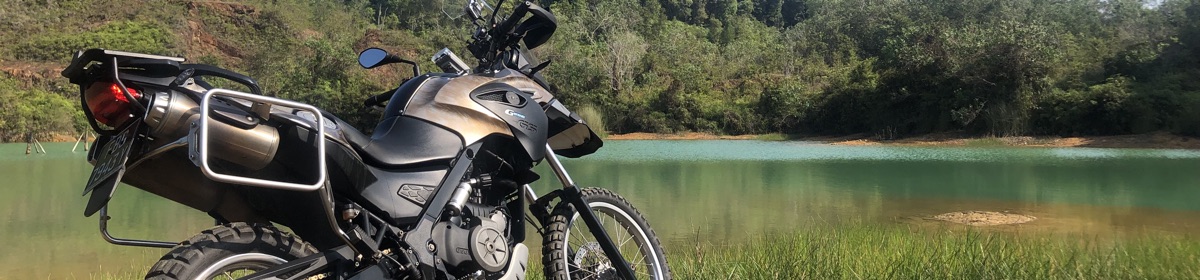
This is crazy… At the Sunday Morning Ride, I was just talking to a fellow biker about carrying an extra bottle of engine oil for a long trip. And when I returned home after the ride, washed and waxed by bike, I realized that my oil inspection window was… EMPTY!

I had initially thought it was still “warm” after the ride and allowed some time pass to allow the oil to flow back down. But checked the oil window the next morning, still empty – no matter how I tilted my bike. 🙁

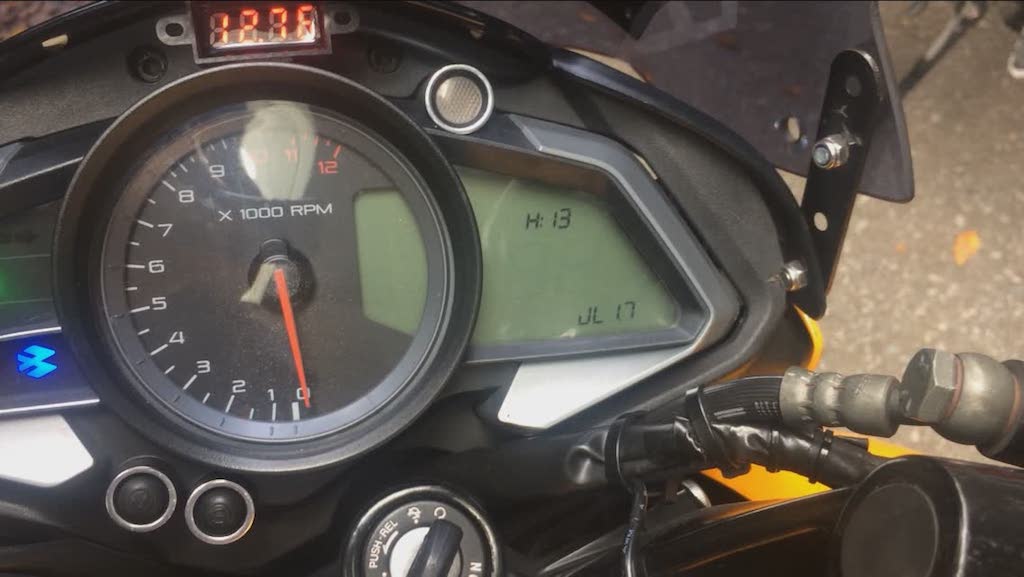
So I thought the high RPM run on Sunday might have something to do with it. No external oil leak was observed. So my worst fear was an internal engine oil consumption – aka oil “burning” up. Was it an engine gasket issue? Perhaps a valve oil seal failure? But it was only 17,000km since my engine was rebuilt in Chiang Mai, and I’d be very disappointed if an oil leak or oil consumption occurred.

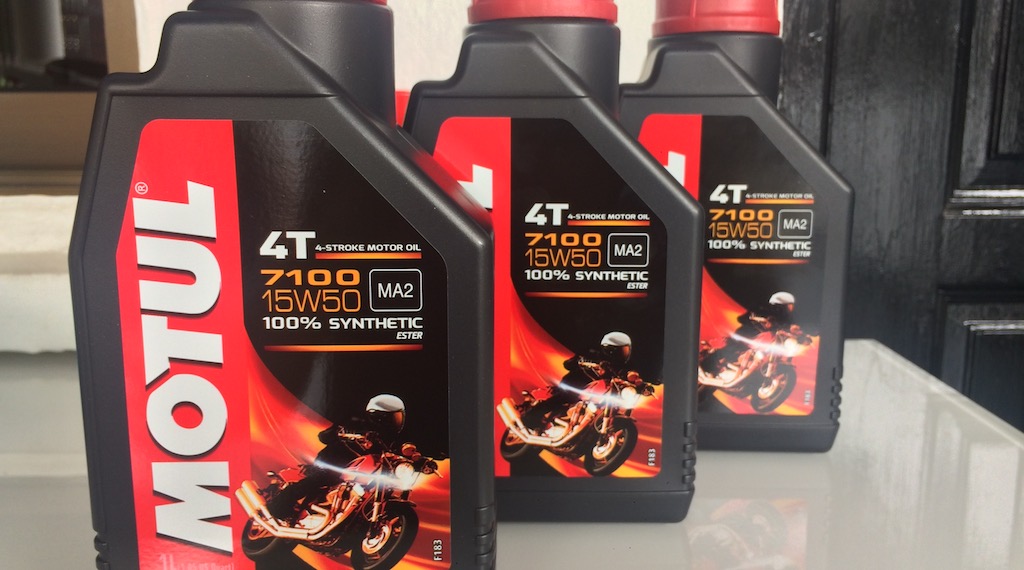
As a temporary measure, I added Continue reading “Pulsar 200NS Engine Oil Anomaly”

Sunday Morning Ride to Ranggam

Woohoo! Another Sunday Morning Ride! This weekend, we headed to Renggam in Johor! It was the same three bikes of three different license classes again – my Pulsar 200NS, a Honda CB400X, and a Yamaha XJ6 Diversion.

As usual, we met up at B-Point for breakfast, geared up, set our GPS’es to avoid motorways and toll roads, and off we went!

The route we took to Renggam.

And we all agreed that this was one of the nicest ride we had together as a group. It had everything – from the cold morning, to foggy roads, to nice scenic fields, to train crossings, to some easy twisties, fantastic straight roads, factories, prison, army camp, and a beautiful weather!

Oil palm harvesting.
Some nice straight roads enroute to Renggam.
Don’t you just love these roads? =)

Oh…and the train crossing…

The 3 bikes stopping for a cuppa teh-o-ice and some roti kaya after a nice morning ride.

Dead 200NS with Strange Error Code

A trip to MotoWorld earlier today proved to be more eventful than expected – unfortunately not of the pleasant kind. Nah. It has nothing to do with MotoWorld per se.

Just when I completed my shopping, I decided to head home. So I geared up and inserted the key into the 200NS and turned the bike on. The LCD cluster did its startup initialisation routine as usual, and then I hit the started button.

(Soft) Click!

The entire cluster went dead!

Yipes!

Repeated hitting on the starter button yielded absolutely nothing – not different from when the key was in the OFF position. Cycling the key between ON and OFF resulted in nothing too. My first thought was – did I blow the main fuse? Continue reading “Dead 200NS with Strange Error Code”

Sunday morning ride to Sungai Rengit

Another Sunday morning ride! This time, we headed to Sg Rengit – near Desaru. Thankfully, the weather was beautiful! As usual, we rendezvous 7am at B-Point, JB, for a light breakfast before the ride.

There were supposed to be 4 bikes this morning. But at 6:30am, I got the following message:

“Sorry bro, cannot join you this morning.”

Okay, 1 down – 3 to go.

And then, as we were about to finish our roti prata breakfast, another message came in at 0720h:

“Broz, just woke up. Sorry”

-_-

So it was just 2 of us left…

Leaving B-Point after breakfast.

Continue reading “Sunday morning ride to Sungai Rengit”

Detailing the 200NS Exhaust

Yes, I’ll admit it. I pamper my ride. A lot. And it isn’t just my motorcycle. I do that on all my previous cars too.

The 200NS comes with a black-painted exhaust header instead of some shiny stainless steel. It’s been some months since I painted the exhaust header on my 200NS, and there are some new signs of very, very light corrosion. I’ve had good experience with Rustoleum’s High Heat paint on the exhaust and still have more than a half-can remaining.

Rusty exhaust header on my Pulsar 200NS during my 2016 SE Asia Tour.

I recall someone asked me if the exhaust stays black (forever) after the Rustoleum High Heat paint treatment. While I would love for it to be the case, the truth is that I will have to periodically repaint it. Well, that person subsequently mentioned that it was too much of a trouble for him and he was really looking for a more “permanent” solution. Dude! It doesn’t exist! Even polish and wax have to be periodically re-applied! Unless, of course, your machine is a showpiece and remains perpetually in display and not used at all. Continue reading “Detailing the 200NS Exhaust”

Adding a Voltmeter to the 200NS

I’ve resisted this modification for awhile. But after reading reports of failing regulators / rectifiers (RR) and stator coils – not just on the Bajaj Pulsar 200NS, but not an uncommon failure on almost any motorcycles, I’ve decided to add a voltmeter to the bike so that I can keep a constant eye on the health of my motorcycle’s electrical system.

By the way, did you know that the number one cause for RR and stator coil failures is NOT the addition of electrical accessories, but rather a bad battery? The typical electrical loads additional (reasonable) accessories demand from the bike’s electrical system is usually very, very well within what the electrical generation system can handle. But when a battery goes bad, and if a single cell within the 12V lead acid battery shorts (a typical 12V battery has 6 cells), this draws a significantly increased amount of current from the bike’s electrical generation system. This large current draw puts a tremendous strain on the electrical system until something – typically either the RR or the stator, or both – gives way and burns up. So remember this – periodically replacing a battery BEFORE it goes bad is good preventive maintenance for your bike’s electrical system. And this is one reason why I choose to replace old batteries instead of waiting for them to go bad.

The (hopefully) waterproof mini voltmeter.

Continue reading “Adding a Voltmeter to the 200NS”

Front sprocket gooey grime (again) at 800km

With a new chain on, I decided to take a peek at my front sprocket.Some of you might have remembered that I performed a deep cleaning of my front sprocket only about 800km ago. And so I expected it to be relatively clean now. But when I popped open the sprocket cover…

Accumulated blob of grim at the bottom of the removed sprocket cover.

Eeew! Yucks! Phhht!

There’s a MASSIVE blob of sticky, gooey grime at the bottom of the sprocket cover! And when I dug around the sprocket shield further… Continue reading “Front sprocket gooey grime (again) at 800km”

DID 520VX2 X-ring Chain on the Pulsar 200NS

At 12,000km, the chain on my Pulsar 200NS had developed an uneven wear across the length of the chain. This set of original Bajaj sprocket and chain was replaced for US$45 in Phnom Penh’s Bajaj dealership when I was touring Cambodia.

The set of original Bajaj chain and sprockets set purchased from Bajaj Phnom Penh.

Apart from regularly cleaning and lubing the chain, I did not have to adjust the chain slack for the first 9,000km or so. And then I did something really stupid – I Continue reading “DID 520VX2 X-ring Chain on the Pulsar 200NS”

Updated Pulsar 200NS Recommended Service Intervals

The Bajaj Pulsar 200NS was introduced in 2012 with much fanfare then. It was the first 200cc triple-sparked single-cylinder engine that the Indian company ever produced – a technology revolution at that time. As with every new engine, service intervals called out in the owners manual tend to be on the conservative side for some checks. Take the valve / tappet clearance for example – it was recommended to check and adjust if necessary at every 5,000km!

Since 2012, Bajaj has sold a healthy number of 200NS and thus their engineering team also has a better idea of the performance and tolerances of the parts. In the latest version of the 200NS owner’s manual (combined as a 200NS and 200AS owner’s manual), some notable difference from the original Rev 1 (May 12) version of the 200NS manual as follows: Continue reading “Updated Pulsar 200NS Recommended Service Intervals”

Valve Clearance Check on my Pulsar 200NS

It’s been 14,000km since I had my engine top rebuilt in Chiang Mai and I’ve not done the valves clearance check on my Pulsar 200NS. And since it was the Chinese New Year holiday and I’ve completed my CNY visiting, with some time at hand, I decided to DIY the valve clearance check this afternoon.

To get to the valves, the following has to be removed: tank cover, fuel tank, air filter box, and then the valve head cover. I’ve previously blogged about the removal process of the above.

Remove these 4 special bolts from the engine head cover.

After removing the 4 bolts on the engine head cover / valve head cover, carefully remove the cover taking care not to damage the gasket. I visually inspected my head gasket and found it to be in excellent condition (approx 6 months old), and although I bought a new piece for this procedure, I had decided that it was good enough to re-use. I’d probably replace it if / when it starts to leak. Continue reading “Valve Clearance Check on my Pulsar 200NS”