Yes, it was about time I replaced my battery. I bought the Pulsar 200NS pre-owned, and it is now about 3 years old. I am not sure when the battery was last replaced as there was nothing marked on the existing battery. But I do know that on the battery, there is a stamp “140114”, which seem to suggest that it’s manufactured on 14 Jan 2014? So it could have been about 2 years old or so.
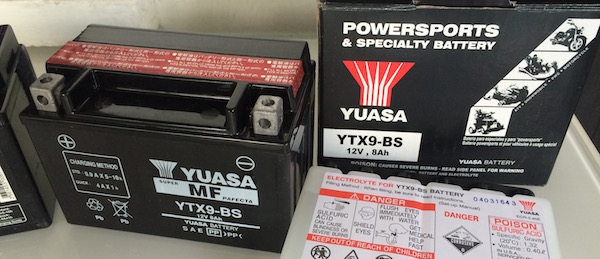
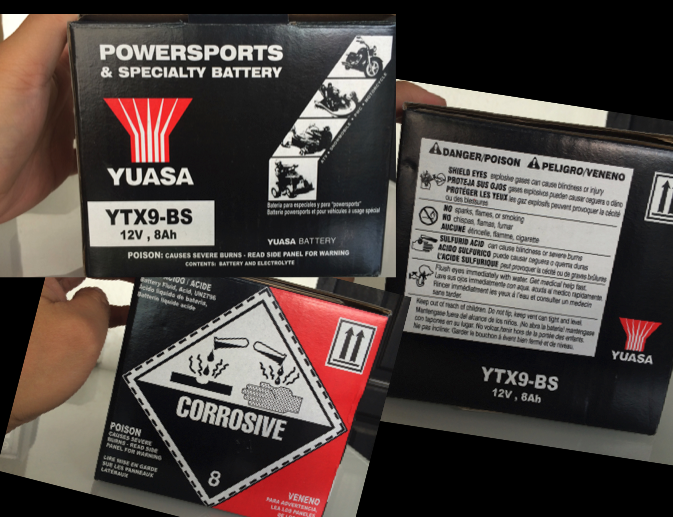 The Yuasa YTX9-BS comes in a standard looking box.
So I bought a new Yuasa YTX9-BS maintenance-free battery from Lim Ah Boy for $55. Strangely, nowhere on the box nor on the battery mentioned where the battery was made in. Hopefully I didn’t end up with a fake battery.
Anyway, removal of the existing batter was rather simple. Remove pillion seat, remove rider seat, remove right hand side panel (optional – but for easier access of battery strap), remove battery.
 Remove battery strap, remove battery. Careful not to lose that strap – you’ll need it to secure the new battery.
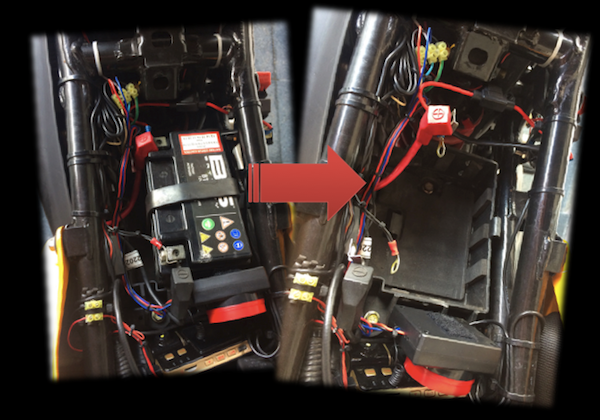
ALWAYS DISCONNECT THE NEGATIVE TERMINAL BEFORE THE POSITIVE TERMINAL. I cannot stress this enough. The reason is that the entire bike’s frame is grounded – ie electrically connected to the negative terminal. If you attempt to work on the positive terminal with the negative terminal still connected, and have that metal tool accidentally touching ANY part of the bike’s frame, you’d be in for a really nasty electrical short! Removing the negative terminal and accidentally touching the frame has no effect – it already is connected to the negative terminal anyway. And if you are working on the positive terminal AFTER removing the negative terminal, accidentally touching the bike’s metal frame will not have any effect either, as the negative terminal is already disconnected.
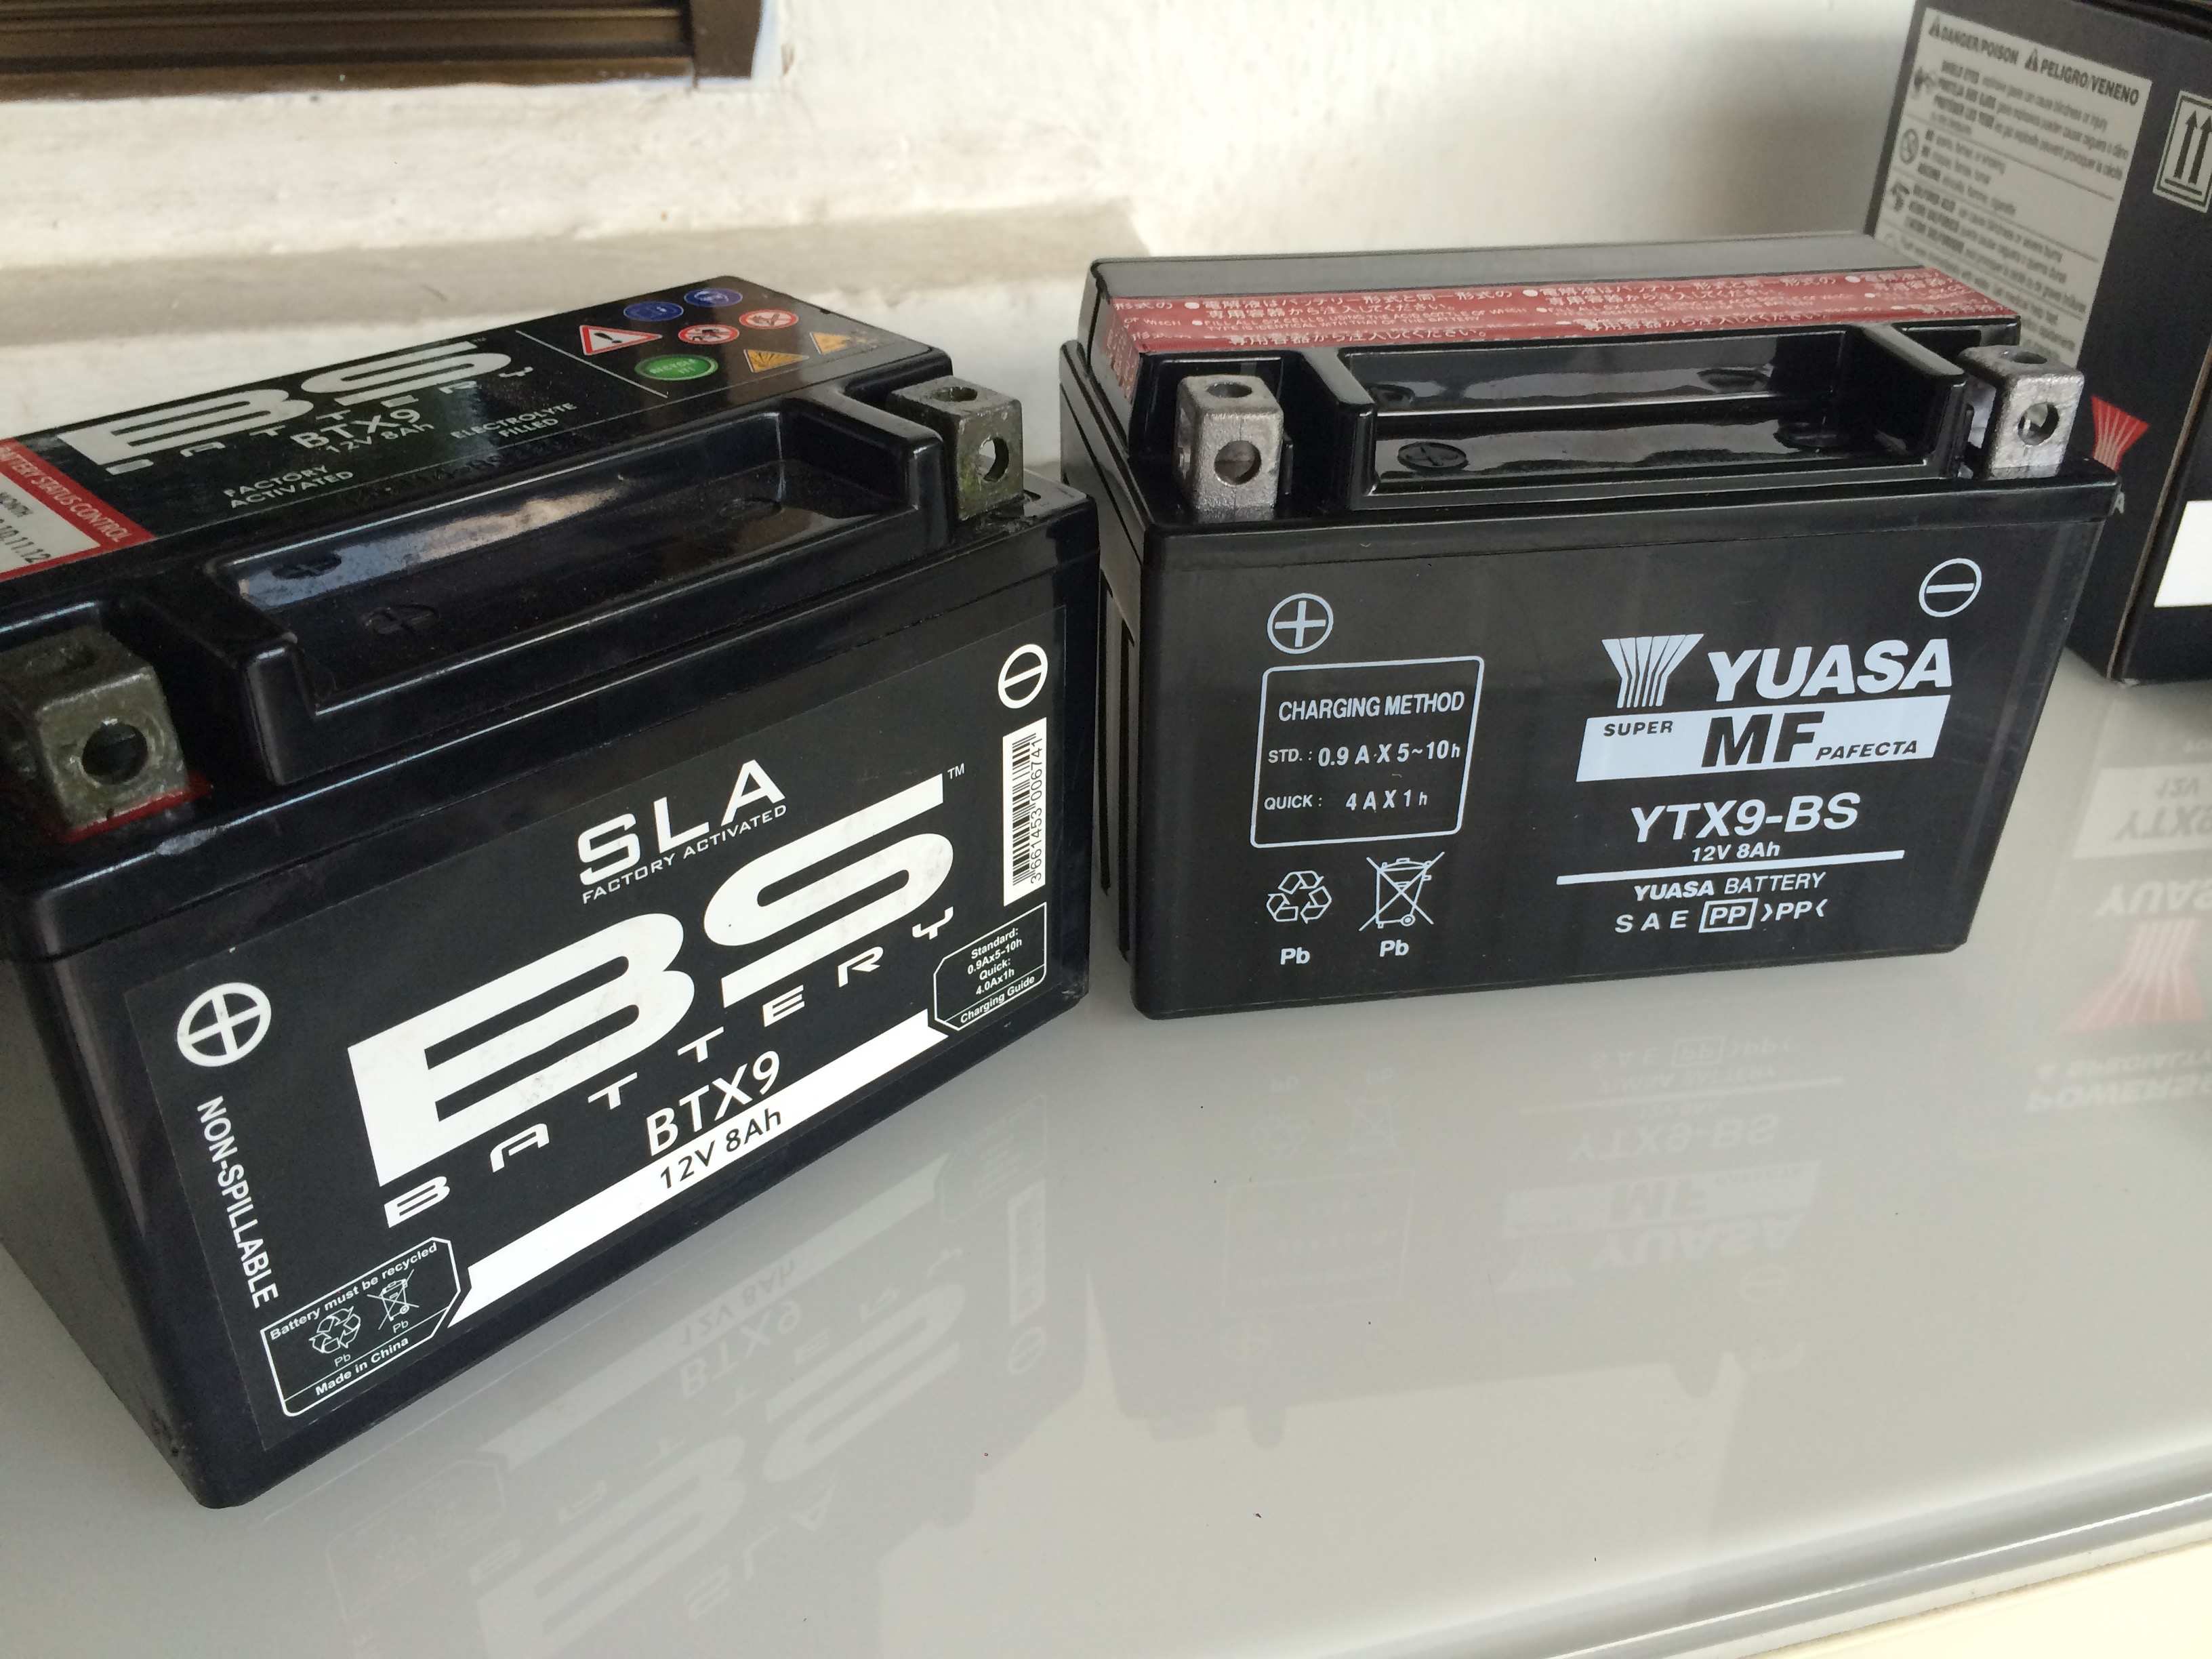 The removed old battery on the left. The new Yuasa YTX9-BS Maintenance-free battery on the right.
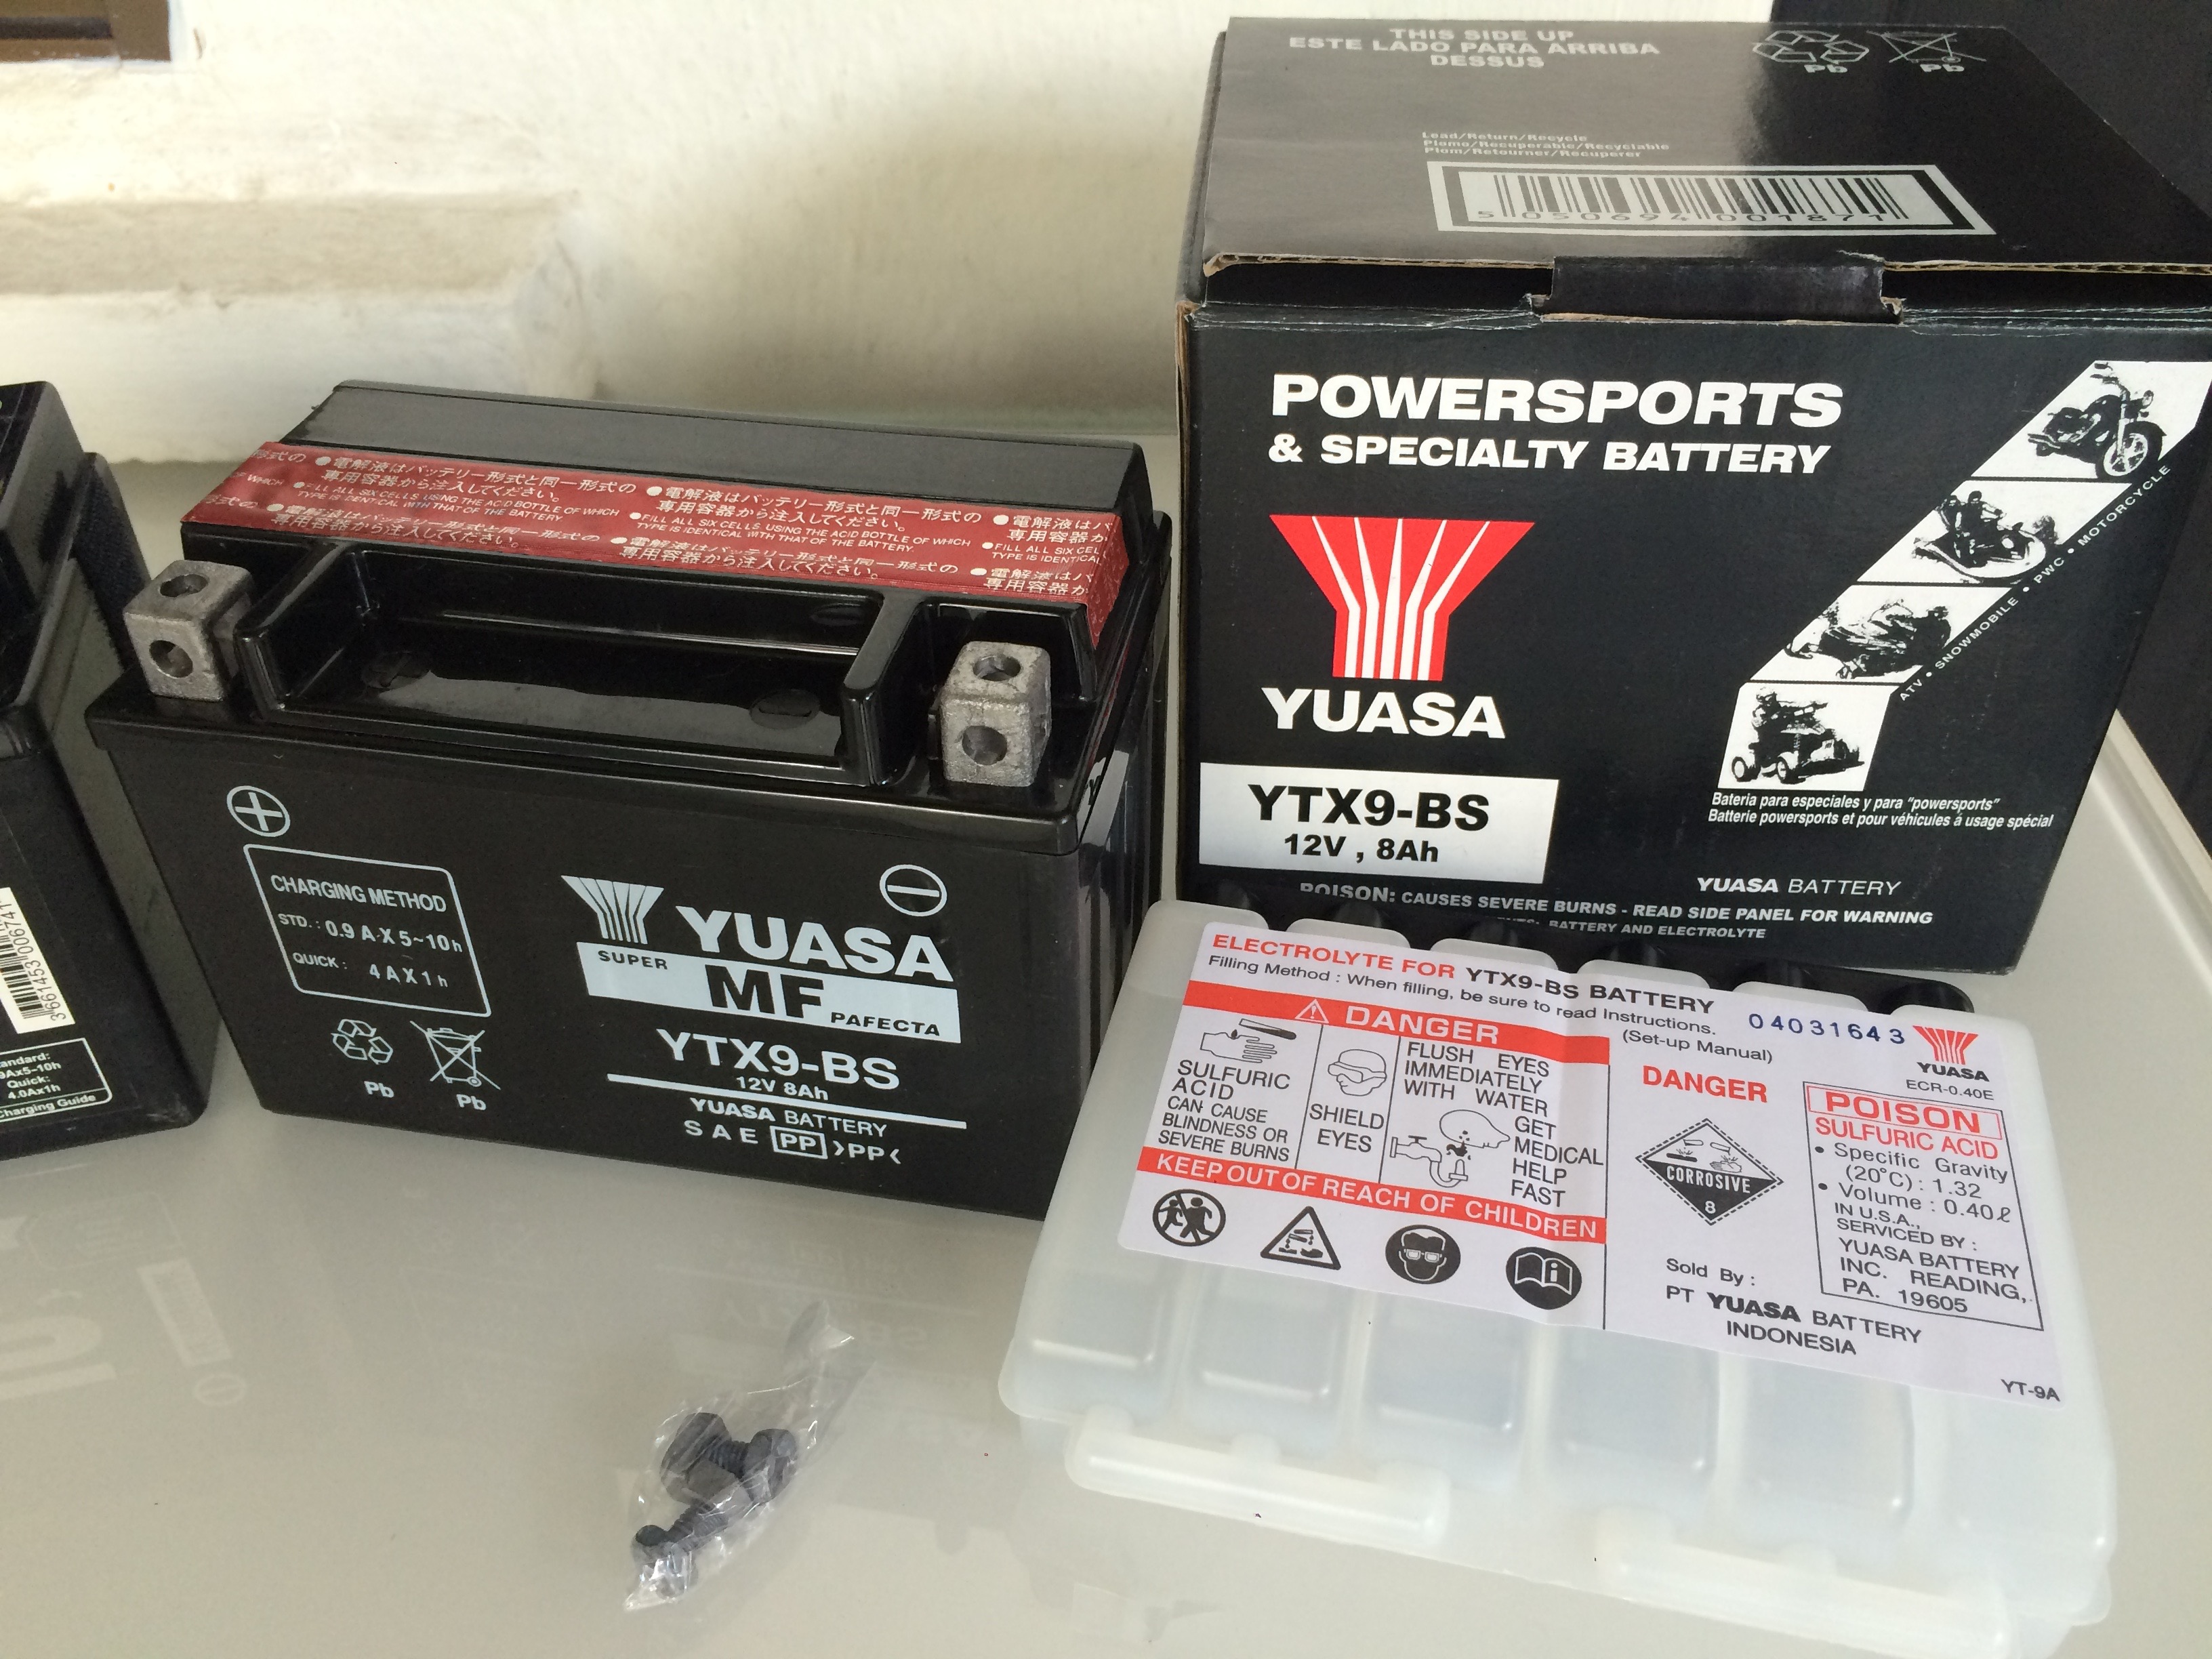 Everything inside the box – battery, terminal bolts and nuts, and acid for activating the battery.
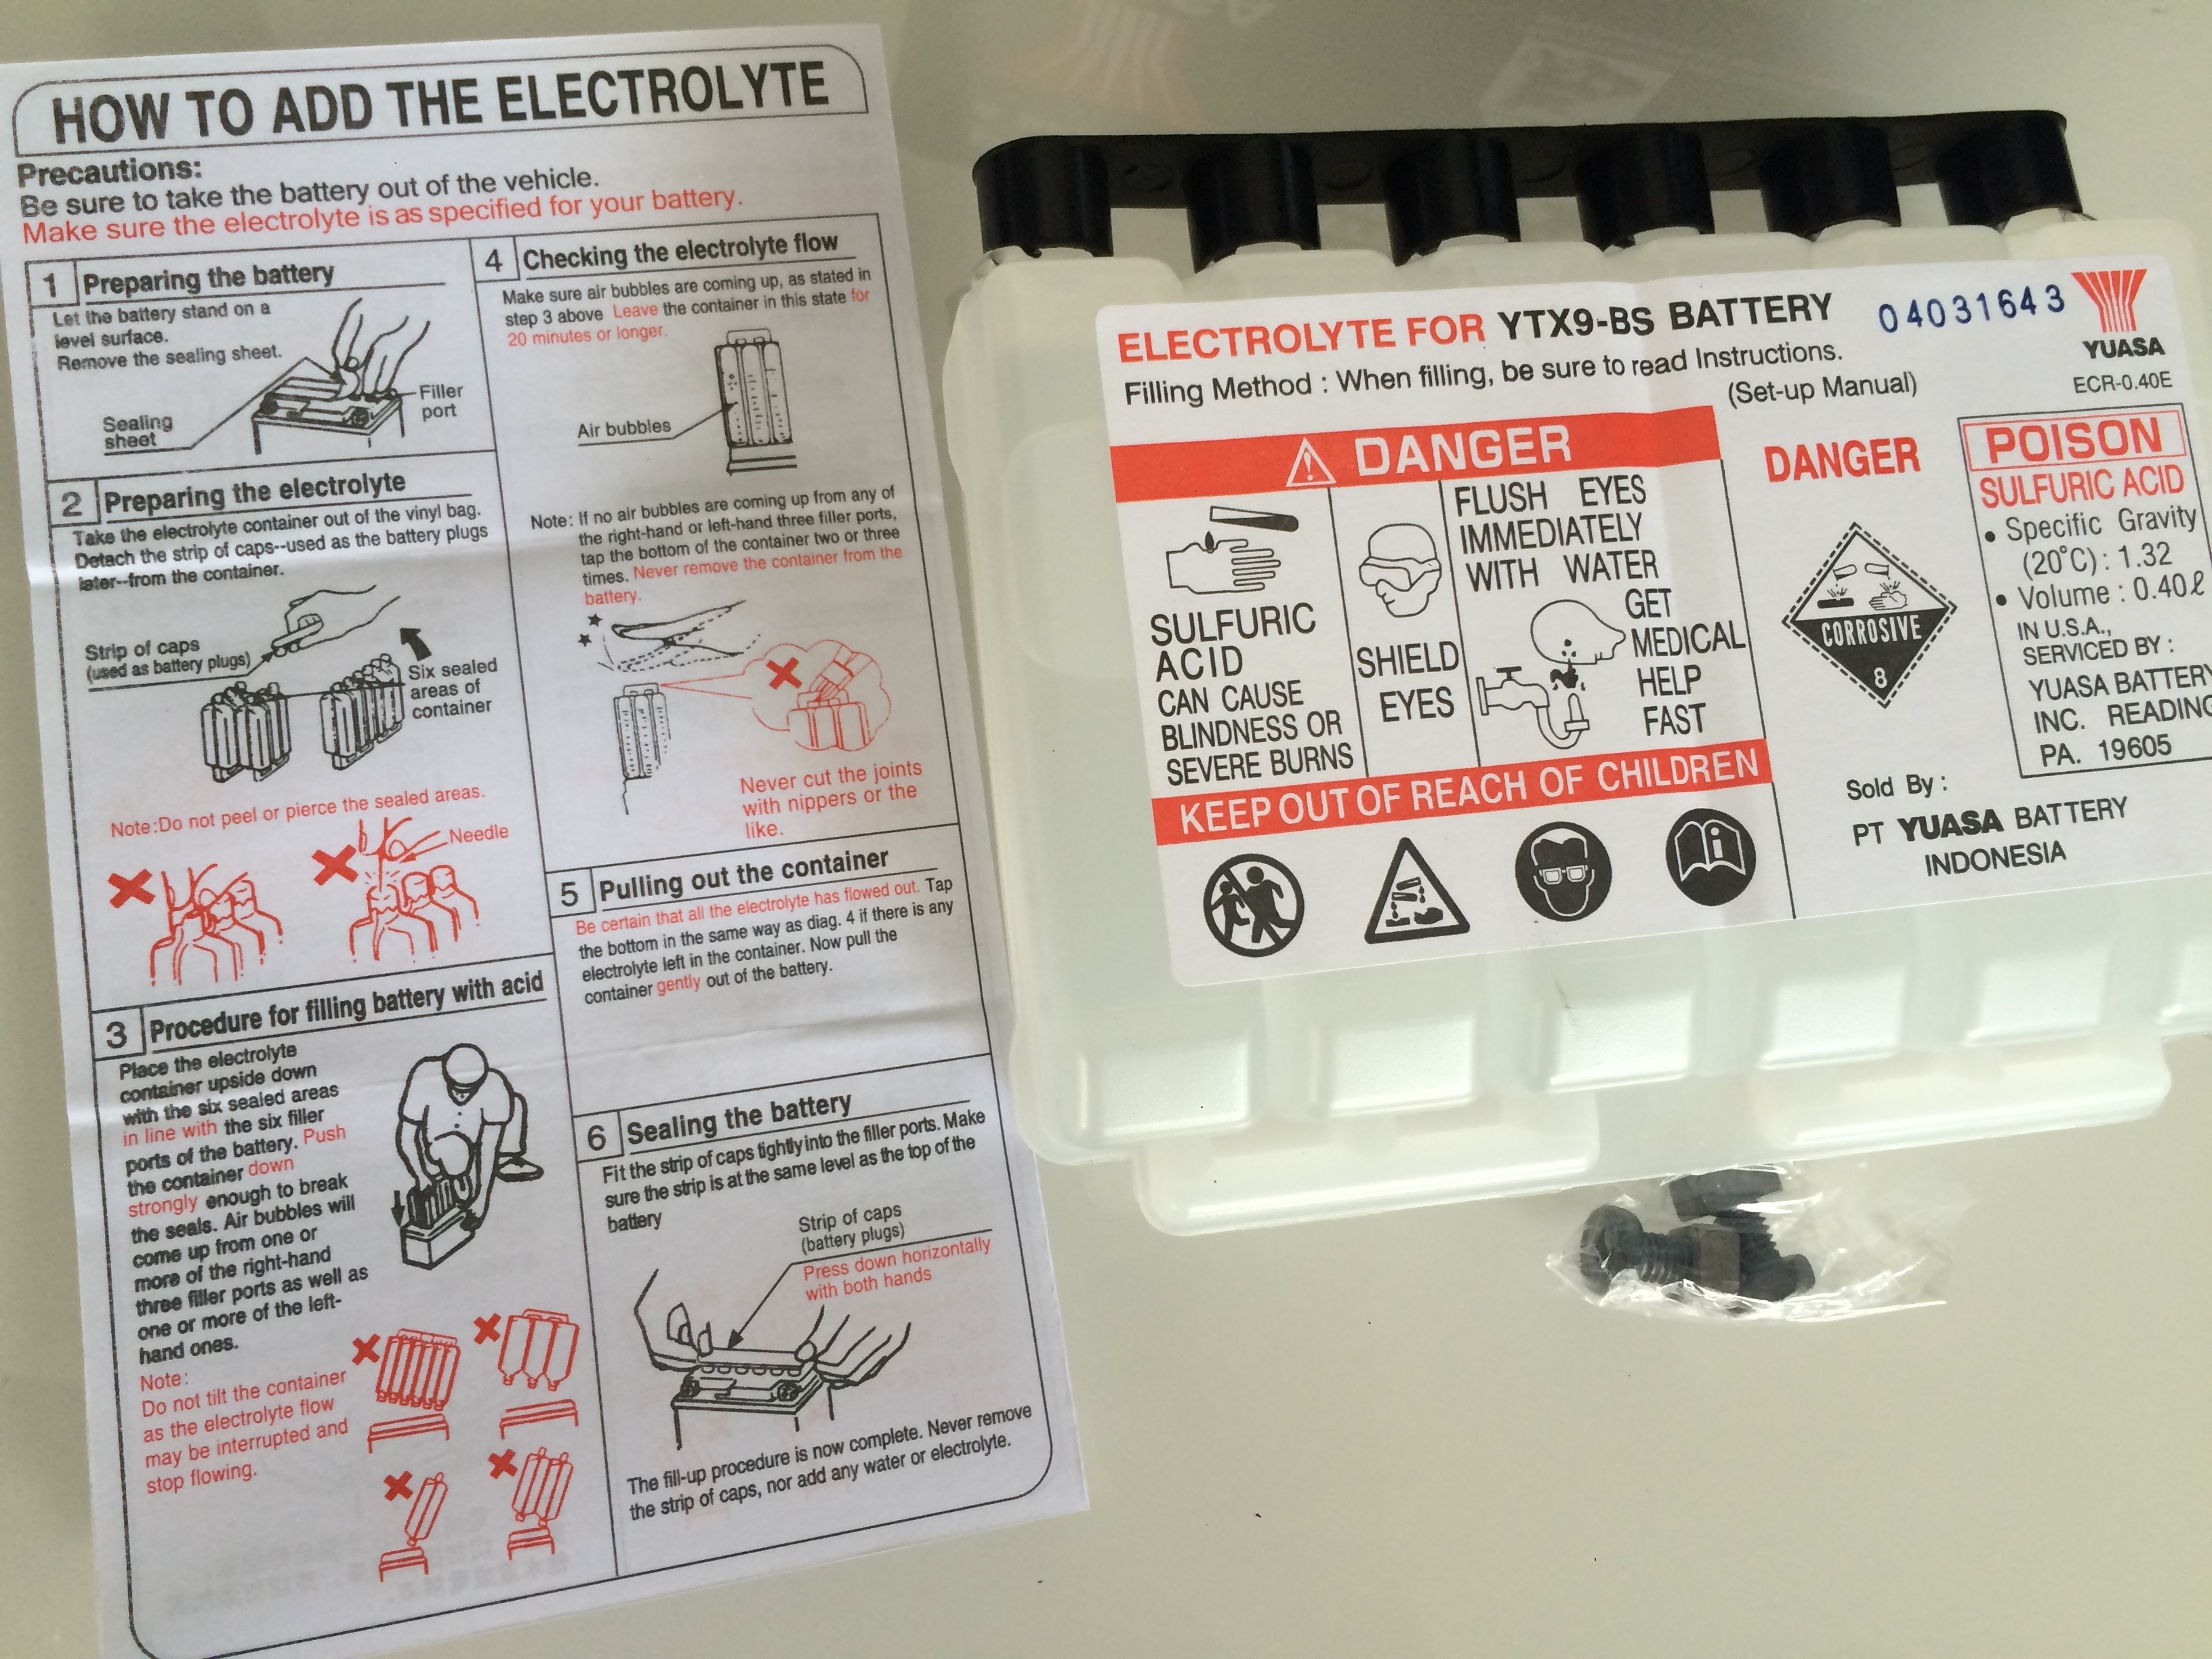 Instructions on how to activate the battery
The Yuasa YTX9-BS battery comes “inactive” from the box. This ensures that the battery you receive is kept “fresh”. Activating the battery was really easy. Peel open the top of the battery, remove the seal from the electrolyte pack, place the electrolyte pack upside-down and align it to the battery fill holes, and simply push down. This feels a little like installing a printer’s ink cartridge. I think the design is quite amazing – there was ZERO spillage. A very clean install!
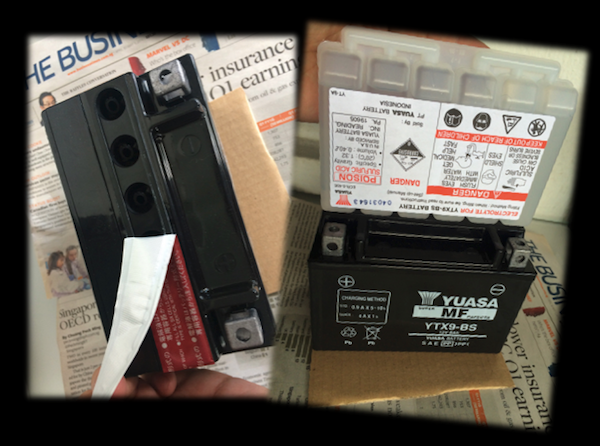 Peel and fill – it’s that simple!
 I like to mark the install date on the battery itself. Helps me keep track of how long the battery have been going for.
 The battery does feel a little warm when filling up with the sulphuric acid electrolyte as there’s probably some exothermic reaction going on. According to Yuasa, it employs an “Absorbed Glass Mat (AGM)” technology where all of the acid is absorbed in the special plates and separators, so there is no need to worry about acid leaks on the valuable vehicle parts and accessories. It is also maintenance-free and once it’s filled with acid, you’ll never need to fill it with water or check the acid level. And because of its lead calcium design, the AGM battery will hold its specific gravity more than three times longer than conventional lead antimony types.
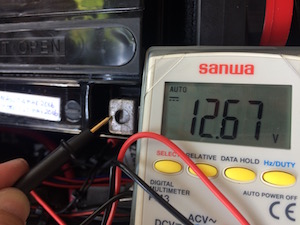
So after filling up the battery with the electrolyte, I let it stand for about half hour. The instructions calls for at least 20mins of standing, before sealing it up. I then measured the open-load voltage – 12.67V. So far so good. But the real test is whether it can start my bike on first crank – without having to charge the battery up.
So, back into the bike it went, and the battery strapped back into its place. I also took the opportunity to do a little cleaning up of the area around the battery holder. Inserted my key, turned the bike to ON, and hit the engine start button.
Vvvrrrrooooom! SUCCESS! The engine started on first try! New battery installed!
Thank you! Very helpful!
You’re welcomed!
*EDIT..
Hello! I recently bought the YTX9-BS Battery for my Ns200 but after a week it seems the battery has been drained. The battery incidcator keeps lighting up after 20-30 minutes of travel from home to work or vice versa. I checked with the battery dealer and battery was drained to 11v then we charged it again and its fully charged but they can’t see any problem with it. But they suspect its the battery “regulator” of my bike that needs to be changed. Any thoughts?
I will have to bring it to the service center here in the PH to further check before I purchase the regulator.
P.S.
(havent changed any of my wirings, no accessories or additional lights or whatsoever all are stock)
The signs point to a faulty charging circuit on the bike. I suspect the fault lies with the rectifier/regulator or the alternator.
Thank you D!