
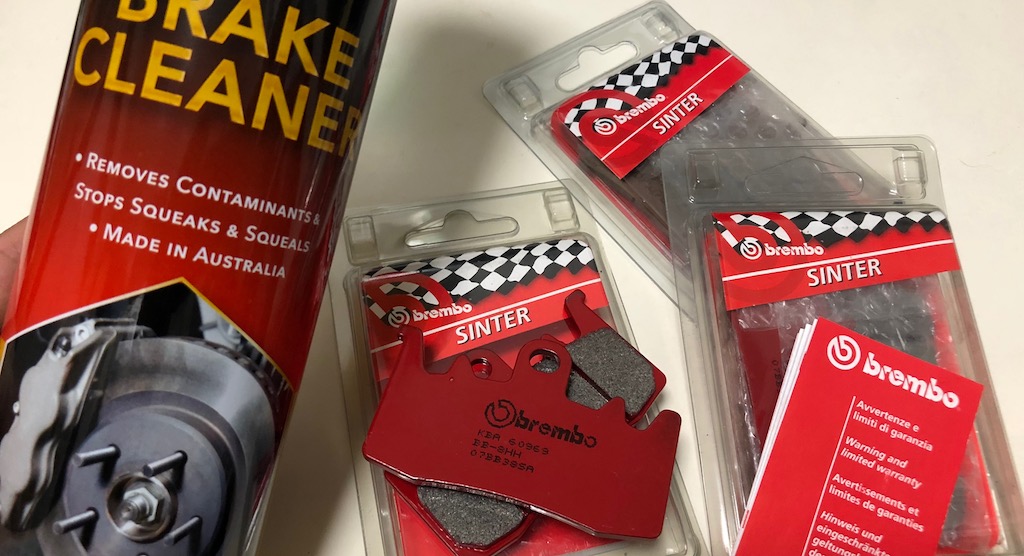
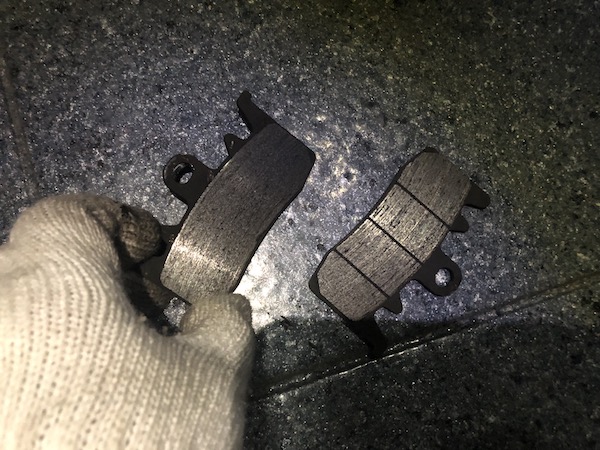
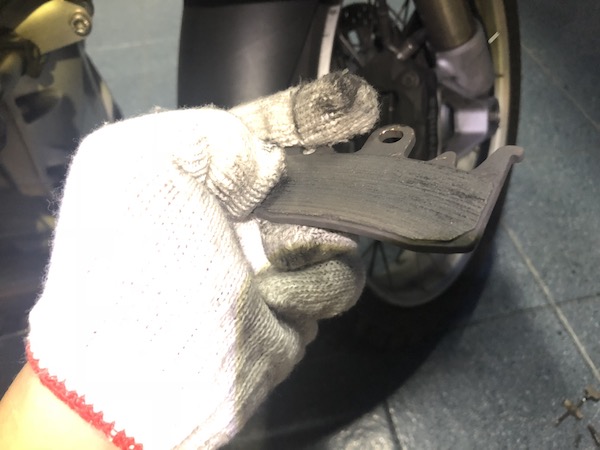
Shortly after my rear brake pads replacement, I noticed that my front brake pads were wearing thin too. Worse, there was one particular pad (the RHS inboard pad) that was wearing out way faster than the rest and is almost worn down to metal! So, it’s time to replace them as a set!
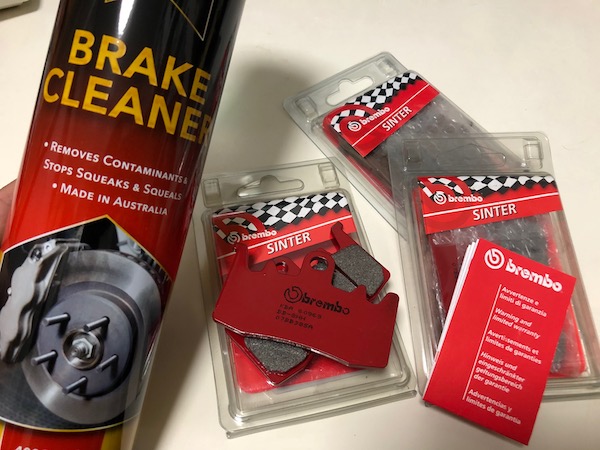
I got myself a set of Brembo SA sintered pads for the front (PN: 07BB38SA). This is supposedly an upgrade to the BMW OEM pads, which, incidentally, are also manufactured by Brembo.

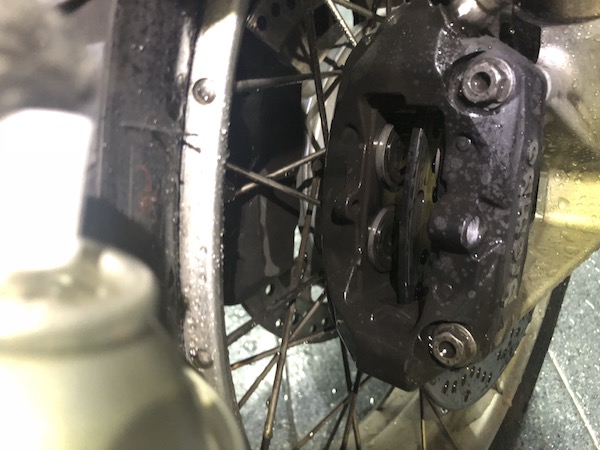
Replacing the front pads is a really simple job. If an oil change were a, say, level 4 out of 10 in terms of difficulty, I would rate brake pad replacement a 2 of 10. You don’t even have to remove the brake calipers from the fork!
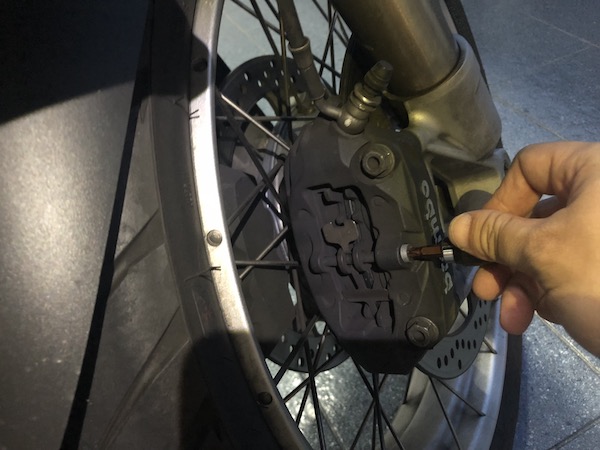
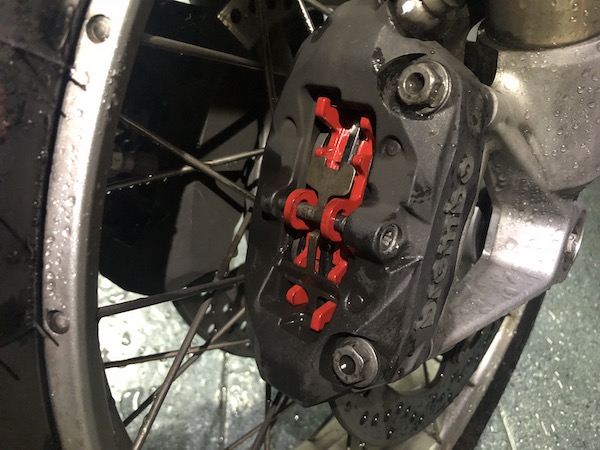
The grub screw that holds the brake pads in place doesn’t take a lot of torque – just 6Nm! Clean up any rust and apply a thin coat of anti-seize or copper grease before you reinstall it.

Remember to prime the brakes by pumping the brake lever a couple of times until hard! And we’re done!